There is great flexibility and choice in what data is displayed in search screen. Please do not put up with partial displayed columns, it is easy to correct. Often users do not realise they can change what is display, the sort order, column width, and the multiple columns available for display.
Each login (user) can choose, without effecting other users, what columns and the size of the search window are saved. When the user closes the window panel, the last used options for the search screen, the columns, sort order and width are saved, so when you open the screen again, the screen is displayed as it was when the window was closed.
If your display does not look right, you can reset and search screen by pressing the ctrl key and F12 then exiting the screen and re-opening the screen.
You can right click on the top line (the line with the labels highlighted in yellow) on every grid in eBECAS and you will see the grid menu.
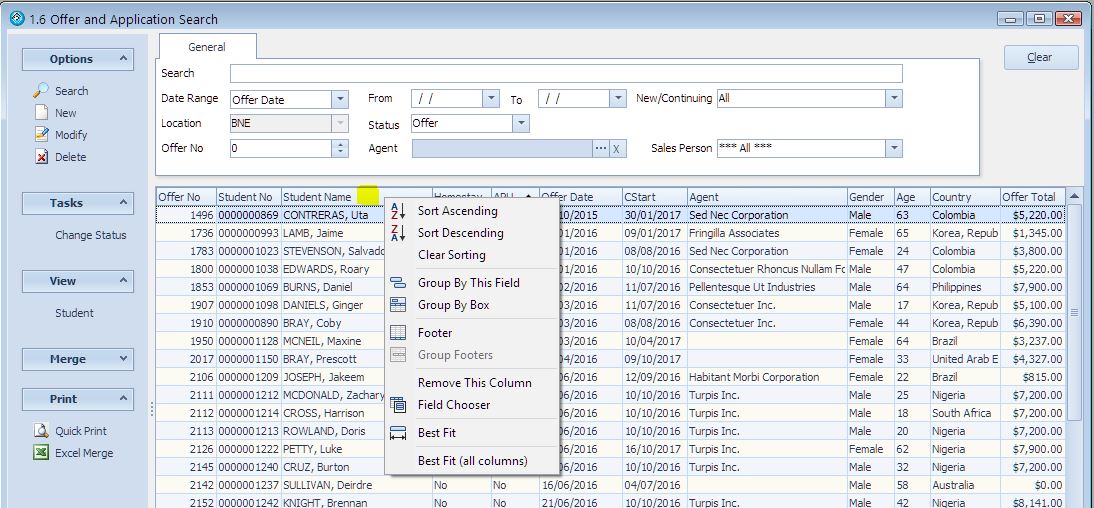
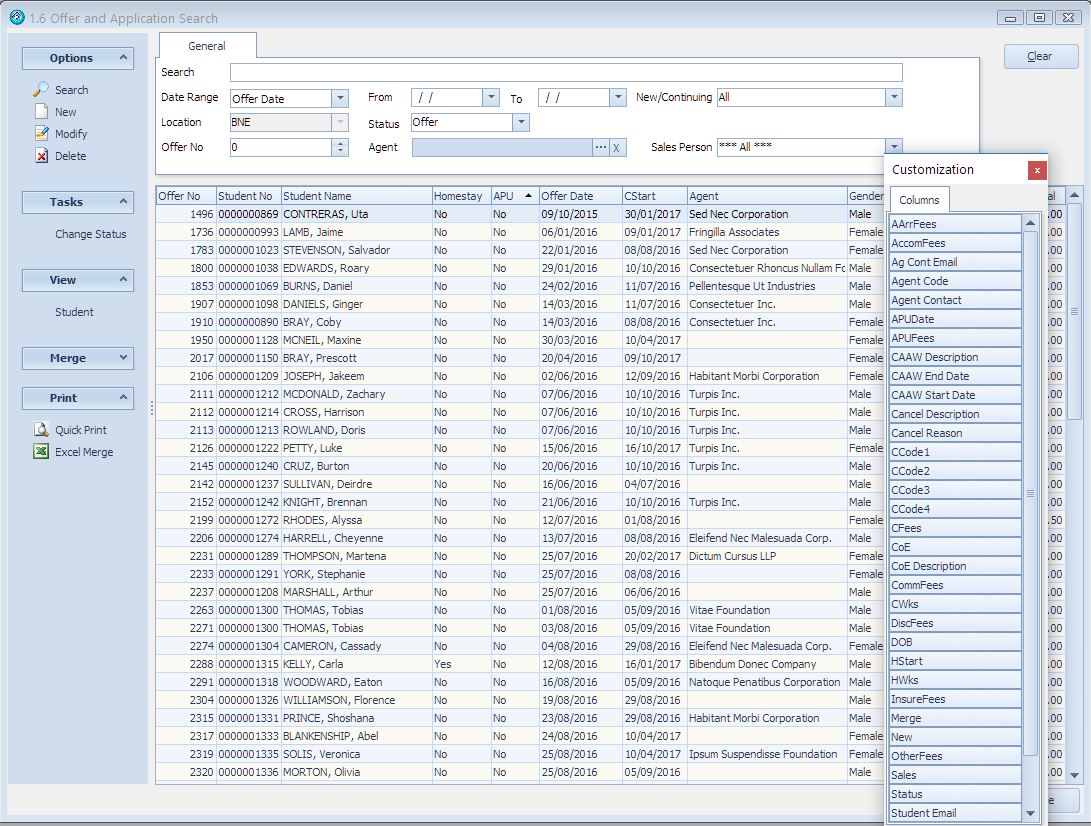
As well as sorting columns, you can also add new columns and remove columns by selecting the ‘Field Chooser’.
Searching for students
The Student Search is used to locate any past, present or future students. The Language or Academic Enrolment search displays current course enrolments as of a day. Offer search displays unconverted offers for follow-up by offer date, course start date, homestay start date or airport transfer date.
You can search for a student in eBecas in the Student search by name or student number from the screen Main – Student.
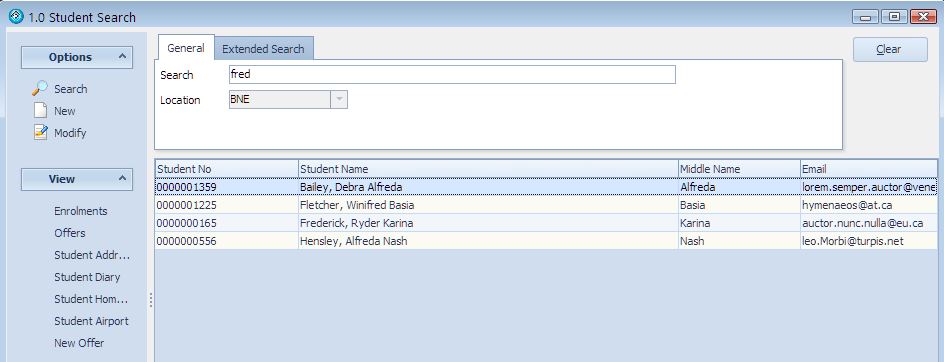
You can enter the first few characters of the surname or first name or last numbers of the student number (or any combination) in the student search.
Before adding any new record, whether it is a student, agent or homestay provider, ALWAYS search to see if that student, agent, homestay provider already exists.
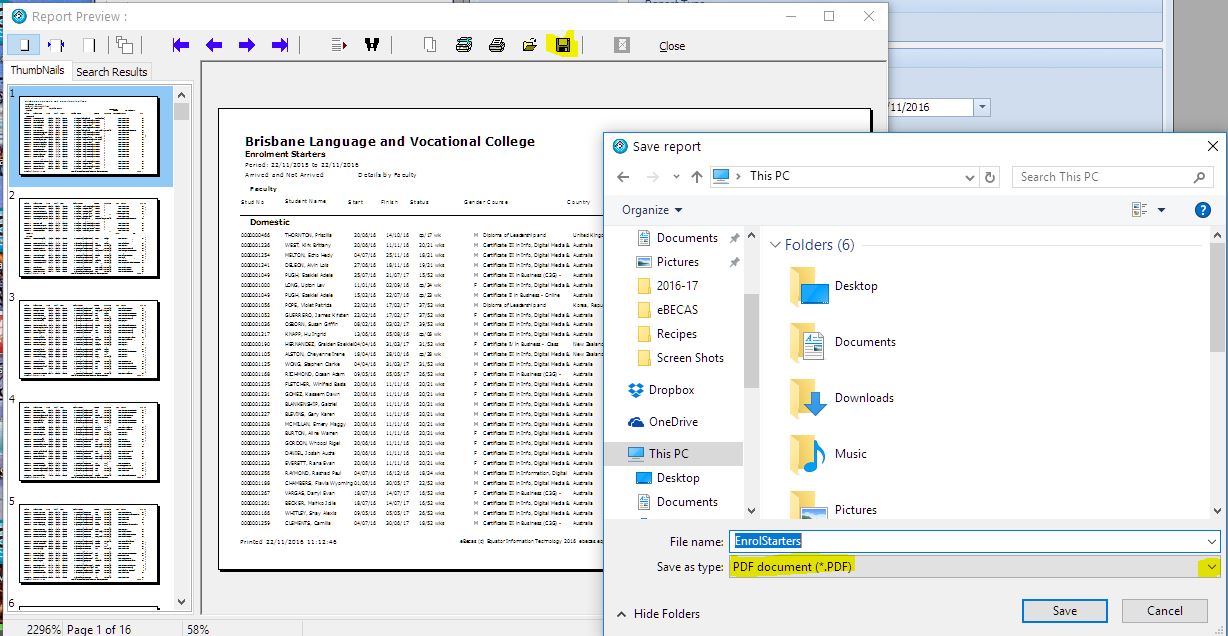
Saving a report as a Spreadsheet or PDF document
Most reports have the option to export the data to MS Excel:

Every report has the option to be output to a PDF file and printed. If you select to run a Report – preview, you can press the icon on the top line that appears as a floppy disk, the following option is displayed, type the name of the report and select the location you wish to save it in, make sure you select Save as type – PDF on the bottom of the panel before pressing Save.