
Index
A student should only be entered once, regardless of the number of courses and campus locations the student is studying. To check if the student is already entered in eBECAS, go to the Main screen and select the Students option. This will bring up the student search window 1.0 (displayed below). Enter the student name and or student number, or any part of the name or last few numbers in the student number then press Search.

Enter a new Student
To enter a new student in eBECAS, simply click ‘new’ on the left hand panel. The below screen will be displayed.
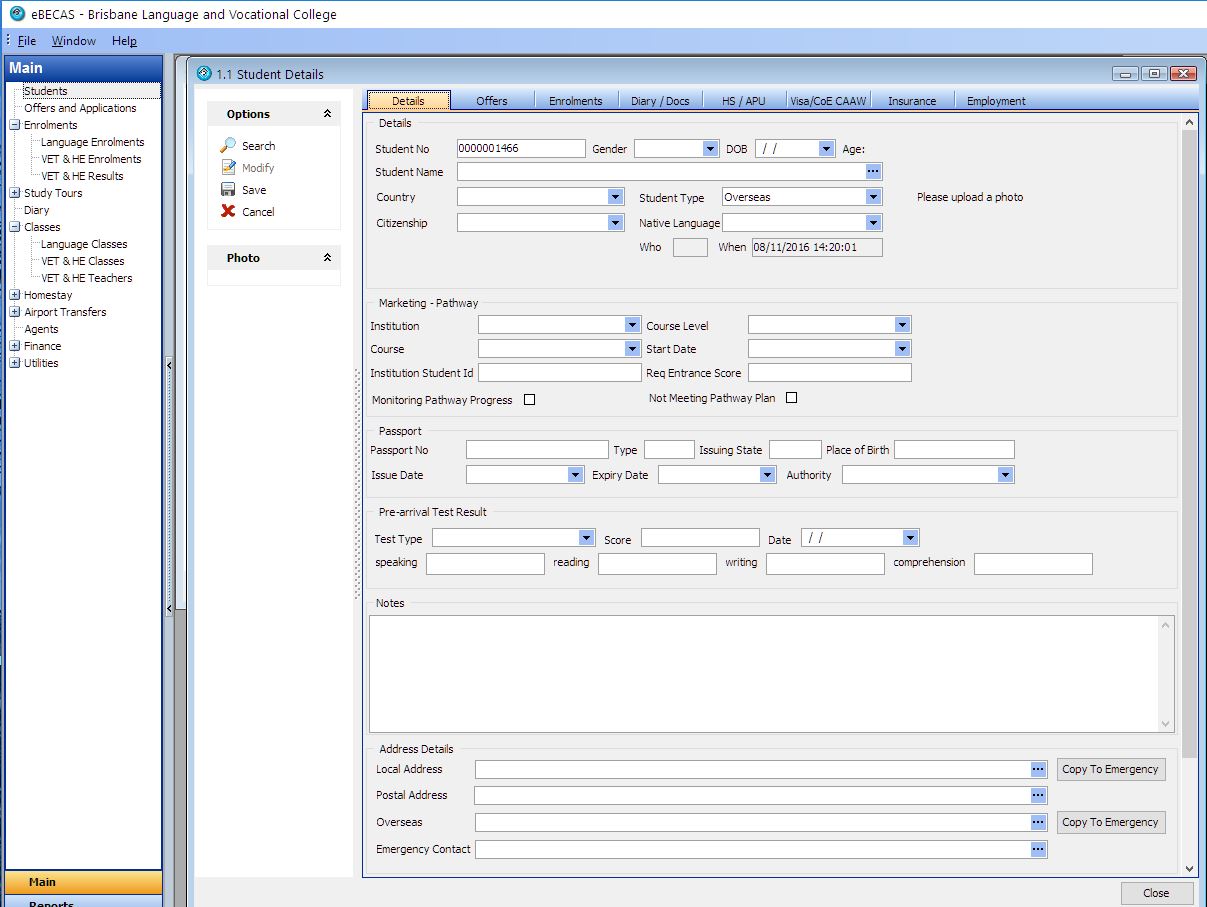
When you create a new entry by clicking ‘new’, a student number is automatically generated; you can change this number if required, but it is recommended not to. You will need to fill in the gender and date of birth of the student. To enter the student’s name, click on the […] icon.

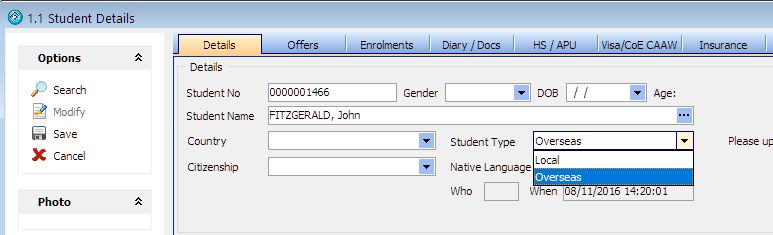
The ‘student type’ drop down menu is associated with the student’s visa type and residency status. The ‘local’ option is for students who are not on a visa and are full-time residents of the country. The ‘overseas student’ option is for students that are on a visa to study or travel. The ‘Citizenship’ option also allows you to specify the student’s country of citizenship. The ‘Language Spoken’ option allows you to indicate the natural or native language spoken by the student. This will be used to assist the student allocation to appropriate mix in the language classes and homestay accommodation.
You have the option to create up to 10 custom fields for the student. To define these fields, go to Utilities – Setup – Student. All custom fields are alphanumeric text fields and the first 5 custom fields are searchable from the student extended search tab on screen 1.0.

A student can also have Marketing Pathway fields specified. This allows your College to keep track of where the student wishes or plans to go after studying their current course. You can specify the Institution, Course and Course level (qualification).
Passport and Pre-Arrival Test results and pre-arrival test custom fields can be stored for the student.
The notes area enables you to enter details about the student that need to be communicated with other staff. An example of this type of information may be: family relationships with other students or agents and any disabilities or other considerations. Often this area is also used to send information such as the student’s preferences and interests to the homestay placement family.
You can also enter student local, postal and overseas address details.
The student’s country of citizenship will automatically be set as the country in their overseas address, however this can be changed if necessary. You do not need to manually enter the student’s homestay placement address, as all homestay addresses are stored separately.The addresses section also enables you to enter emergency contacts (you can copy the local or overseas as the emergency contact) and any additional relevant contacts (i.e. friends and family).
Student diary and document repository
The diary tab is an area to collect all information that has been exchanged with the student. You can create categories in the diary to help organise the information. Example categories may be warnings, homestay, fees and behavior. The diary entry date/time will automatically be set as the create date, however this can be changed. You may change the date/time if a diary entry regards something that has happened in the past or you want to use the entry as a reminder in the future. The entry is comprised of a subject line and an area for detailed text.
You can also view all diary entries for a period in the Diary section of the main eBECAS menu (Main – Diary). This enables staff to view Diary entries by all students, all agents, users and accommodation providers for a period of time.
On the same Diary tab, documents can be associated with the student. These documents are stored “in the cloud” and be loaded and retrieved quickly from any location, in the office or overseas. eBECAS uses amazon web services. Documents can be stored with students, agents or homestay providers.

Student accommodation placement and airport transfers
Homestay and Airport transfers should only be entered via an Offer or an Enrolment. This ensures the homestay and airport transfer payments are scheduled correctly. After the homestay and airport transfer offer has been accepted and invoiced, details can be changed. For more details please see here.
Student visas and CoE
A student can have one or multiple visas. You are able to enter the student’s visa type, visa number, arrival and expiry dates. The visa can span multiple enrolments.
Students associated with an Australian ESOS account will need to have ‘student visa’ selected as the appropriate visa option for them. This automatically loads all fees paid by the student into the Australian Government Prisms website.
Australian students on a student visa can have one or many CoE numbers (Confirmation of Enrolment number).
For each enrolment, you are able to select the CoE that applies for that enrolment. This is particularly significant for the Australian ESOS Account. Fees paid by students on a Student visa are loaded and reported into the Australian Government Prisms website and the CoE number is used as a reference.
Student insurance
Insurance should only be entered via an Offer or an Enrolment. This is so that the insurance payment is scheduled to the insurance provider. You can see the details of the insurance policy via the ‘Insurance’ tab. Payments to insurance providers are made via Schedule payments.
Student Avetmiss / RAPT details
Student Avetmiss details are entered in the ‘Avetmiss’ tab. For details on setup and exporting Avetmiss and WA RAPT data please see here.
Student photo
The Student’s photo can be loaded into the photo tab. Please make sure you crop and edit the scanned photo image to be a similar size as a passport photo.

Student work placements
The ‘Work’ tab allows you to keep track of all instances where the student has requested and/or been placed in employment.